Step-by-Step Guide on Connecting Printer to Wi-Fi- Wi-Fi is genuinely the most convenient way in which we can connect a computer to a wireless printer. This wireless capability has now been taken for granted as the world is moving towards computing technology and more and more information and interactions are being made digitally.
Although our phones, laptops, and PCs are far superior, Wi-Fi has a satisfactory level that cannot be felt unless it is used. A printout differentiates between scrolling through the information and just scrolling past and forgetting it. So, in this article, we will go over the various methods for connecting a printer to a Wi-Fi network. We will also show how to connect Wi-Fi with WPS. So let’s get started.
How to Connect Your Printer to Wi-Fi
You can easily connect your printer to Wi-Fi and complete all tasks flawlessly. Before doing anything else, you need to follow some basic steps. We will try to elaborate on them first.
Checking the printer setup–
The trouble with connection glitches may be because the printer isn’t connected to your computer. Let’s learn how to check connections and set them up for both MAC and Windows computers.
Printer set up check on Windows:
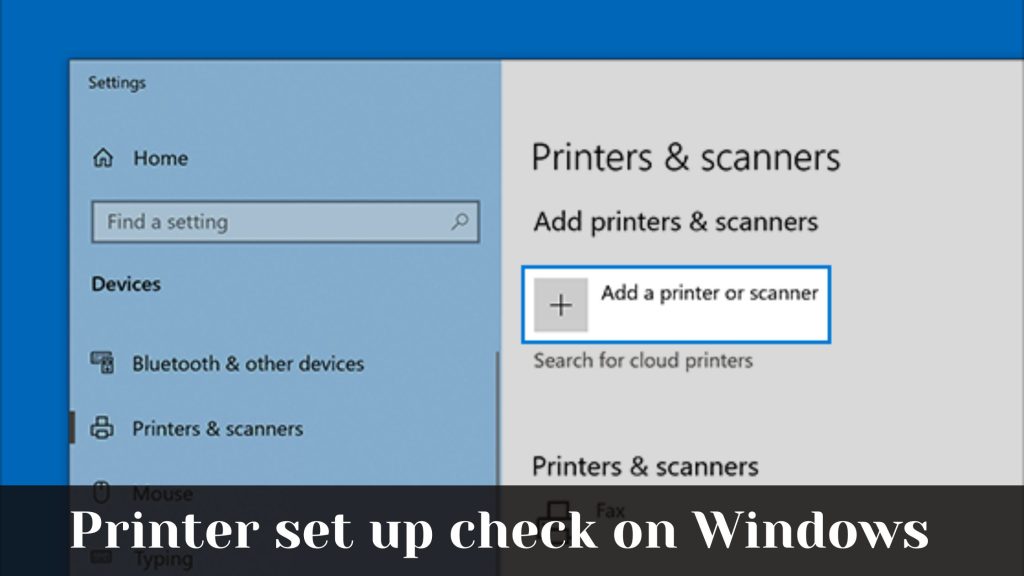
- Ensure that the printer is switched on, and then press Start on your computer.
- Select settings>devices>printers and scanners.
- If your printer’s name is not listed there, then you need to select Add a printer or scanner and then you need to wait to find the nearby printers.
- If found, then select the printer name( make sure you check the manufacturer’s name and model number).
- Then select Add device, entering the password if needed.
- And finally, ensure that the printer’s name is enlisted in the printers and scanner section.
So these are the procedures for checking the printer setup on Windows. Now we will see what’s the case with MAC computers.
Printer Setup Check on MAC
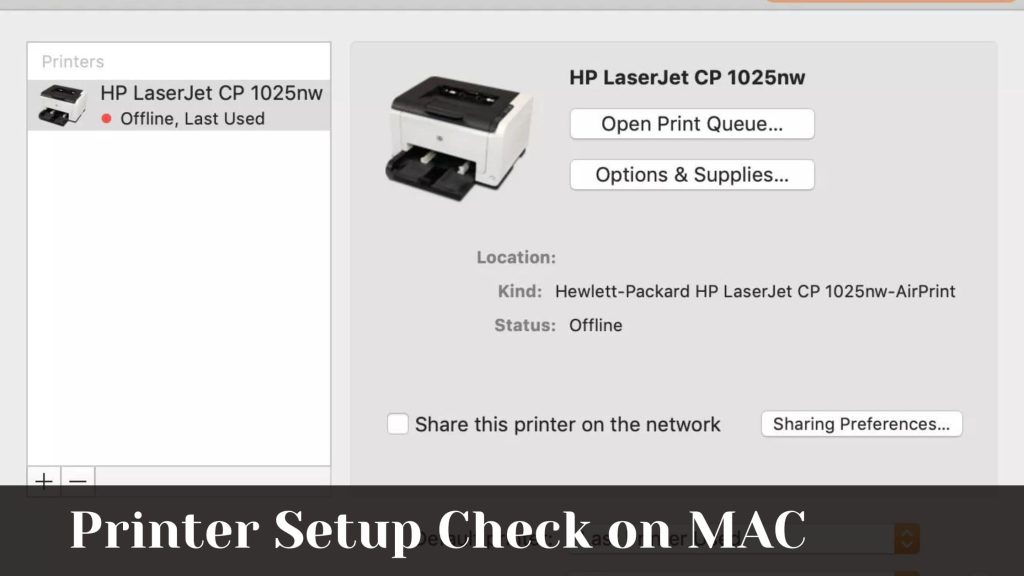
- You have to select the Apple menu on the screen.
- Then select the system preference>print and scan or printers and scanners.
- If your printer’s name is not listed there, click the (+) and then select the printer from the list.
- Then choose your printer software or driver in the place of Use felid and then click
Connect Various Printers to Wi-Fi by Following these Steps
Now we’re going to see how we can connect printers to Wi-Fi. A touchscreen printer will help you type in the Wi-Fi passwords more easily. We will see how HP, Epson, and Canon printers connect with Wi-Fi accordingly.
Connecting the HP printer to Wi-Fi
- Ensure that your printer is on and must be in the range of the Wi-Fi network.
- Then press Setup and tap Network or Wireless settings.
- Tap on Wireless Setup Wizard.
- Finally, we will have to select the name of your network and enter the required password.
Connecting the Epson printer to Wi-Fi
- You have to be sure that your printer is on and set up in the territory of the Wi-Fi network.
- Tap on the Home button on the control panel.
- Then select the Wi-Fi setup and tap
- It would help if you pressed OK until the Wi-Fi setup wizard arrives and then press
- Then you have to choose your Wi-Fi network and press
- By entering your password,
- Once you are done with all these processes and you’re connected, you will see “Setup complete” on the screen.
Also Check- How to Connect the Epson Printer to the WiFi
Connecting a Canon printer to Wi-Fi
- Power on the printer and place it in the range of the Wi-Fi network.
- Tap the Home button on the screen and hold the Wi-Fi.
- Press the LAN wireless setup button and then tap the
- Choose a Wi-Fi network from the list, enter your password, and press
- Eventually, the Wi-Fi indicator will stop flashing once you are connected.
So these are the rules by which you can get connected to Wi-Fi from different devices. Now we will show how to connect a printer to Wi-Fi with WPS on different devices accordingly. This trick will help you connect to a wireless network even if you don’t know the name. You just need to ensure that your wireless router is very handy to finish all these methods.
Also Check- How to Connect Canon Printer to Wifi
Connecting an HP printer to Wi-Fi with WPS
- By switching on the printer, ensure to keep it within the range of the Wi-Fi network.
- Put the printer in the WPS connection mode.
- Tap and hold the wireless button for 5 seconds, or wait until the wireless indicator flashes.
- In the case of the Deskjet 6000/6400 and Envy 6000/6400 printer models, you need to press and hold the Wi-Fi and power buttons until the blue bar flashes.
A minute later, you need to press and hold the WPS button on the router till the Wi-Fi indicator blinks. Then once the light stops you will be connected.
Also Check- How to Connect HP Printers to Wi-Fi
Connecting the Epson printer to Wi-Fi with WPS
- Keep your printer on by putting it in the range of the Wi-Fi network.
- Tap on the WPS button on the router.
- Press home
- Then select the Wi-Fi setup and press
- Press “Push Button Setup” and tap “
- You need to obey the steps carefully to complete the set-up procedure.
- Once you see the Wi-Fi icon along with the green connection bars on the top left side of the printer screen, then you are connected.
Connecting the Canon printer to Wi-Fi with WPS
- Ensure that your printer is powered on and placed in the range of your Wi-Fi network.
- Tap WAN on the screen, then press Start Setup.
- Tap and hold the WPS button for five seconds, then press OK within two minutes.
- Once “connected to the access point” pops up on the screen, tap OK.
So, in this article, we have enlisted the methods by which you can connect your printer to Wi-Fi and Wi-Fi with WPS. I hope this article will help you in some way.