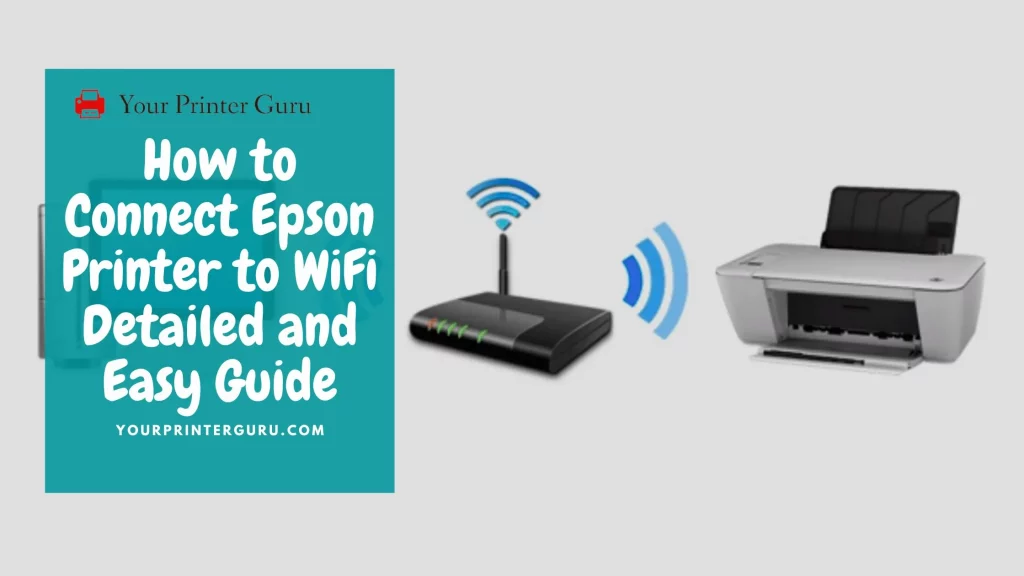
Connect Epson Printer to WiFi- Epson is one of the most popular names in the world of printing. Epson printers have been listed as the most favorite printers by many users. This brand provides their customers with various types of printers that can deliver outstanding results.
Epson printers are popular for their simple design and multi-functionality. One of the major convenient features of Epson printers is their wireless connectivity options. These printers are equipped with WiFi connectivity option that increases their efficiency.
If you have an Epson printer, you must know how to connect it to WiFi so that you can work with it smoothly, conveniently, and efficiently. If you have already searched innumerable sites and read various articles to know the procedure but have not got a right guide, this article is the one you are looking for.
Our current article is here to clear all your doubts and guide you on how to connect Epson printer to wifi. So don’t waste your time and let’s start!
Connect Epson Printer to WiFi: Detailed Guide
1. Inkjet Printer Connecting Setup
To connect an inkjet printer of Epson to wifi, you have to follow the following steps:
- First, you have to press the “Home” button.
- Then you have to select the “Wifi (recommended) icon.
- Then you have to select “Start Setup” or “Change Settings” option.
- After that, you have to click on “Wifi Setup Wizard”.
- Now you can see a few names of different network on the LCD of your printer. You have to select the name of your wireless network. If you want to enter the name on your own, you can select the option “Enter Manually”.
- Then you have to enter the password. For this, you have to select the “Enter Password” option and enter your password. The password must contain upper and lower case letters, numbers, and symbols that make it a strong password.
- After entering your password, you have to select “OK”.
- If you have finished these steps, you have to confirm the displayed network settings.
- Then you have to select “Start Setup” to begin setup.
- Lastly, you should select the “Print Check Report” or select “OK” to exit. Then you can return to the home screen by clicking on the “Home” button. You can see your wireless connection status displayed by the wifi icon on the screen.
2. Ink Tank Printer Connecting Setup
Connecting your Epson ink tank printer to wifi is as easy as connecting your Epson inkjet printer to wifi. The steps are almost the same. Let’s have a look here:
- Press the “Home” button first.
- Then come to the option “wifi setup”.
- Press “OK”.
- Select “Wifi (recommended).
- Press the “OK” twice.
- Select “Wifi Setup Wizard”.
- Then again press “OK”.
- Then select the name of your wireless network and press “OK”. If you want to enter it manually, you can do that by selecting “Other SSIDs” and press “OK”.
- Then enter the password and press OK”.
- Then press the “Stop” button. But, in case you want to print your network setup report, you have to press “Start”.
- Now you can see a blue WiFi symbol on the LCD screen of your printer.
2. Laser Printer Connecting Setup
To connect your Epson laser printer to wifi, you have to proceed with the following steps to complete the setup:
- Firstly, you have to use the home screen of your printer and access the “Wifi Setup” menu.
- Then you have to click on the “Ok” button.
- Then click on the “Push Button” or “WPS” button.
- Now click on the WPS button of your router so that the router can detect your printer. If the router can detect your printer, the name of your wireless network will be shown on the screen of your printer.
- Then click on the “Ok” button.
- Again click on the “Ok” button to confirm the connection.
3. Connecting an Epson Printer Without Screen to Wifi
If your Epson printer does not have an LCD screen, the method of connecting it to WiFi will be different. In that case, you have to follow these steps:
- Firstly, you have to locate the “Wifi” button and click it and hold it for a few seconds.
- Then you will see a light flashing. Now you have to release the “Wifi” button.
- Then click on the wifi button on your router and let the router detect your printer.
- When the printer will be connected to your network, you will see the WiFi light of your printer and the routerflashing. This means your connection is successful.
- Now you can send a test command to check the connection of your printer.
Conclusion – Connect Epson Printer to WiFi
We hope our guidance will help you a lot and clear all your doubts.So follow these steps to connect your Epson printer to wifi and have a great working day!